How Plumbing Works in a Home
The plumbing system in a home is responsible for delivering clean water to fixtures and safely removing wastewater. Although homeowners typically only see the fixtures themselves, the plumbing system includes a network of pipes hidden behind walls, under floors, and inside ceilings.
Learn how hidden pipe systems, water flow, and fixture planning work together for a reliable home plumbing setup.


Water supply lines bring clean water into the home and distribute it to plumbing fixtures. These lines carry both hot water and cold water to fixtures such as:

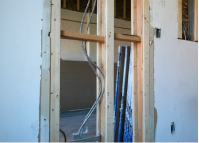
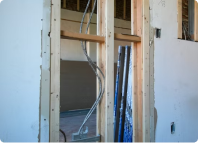
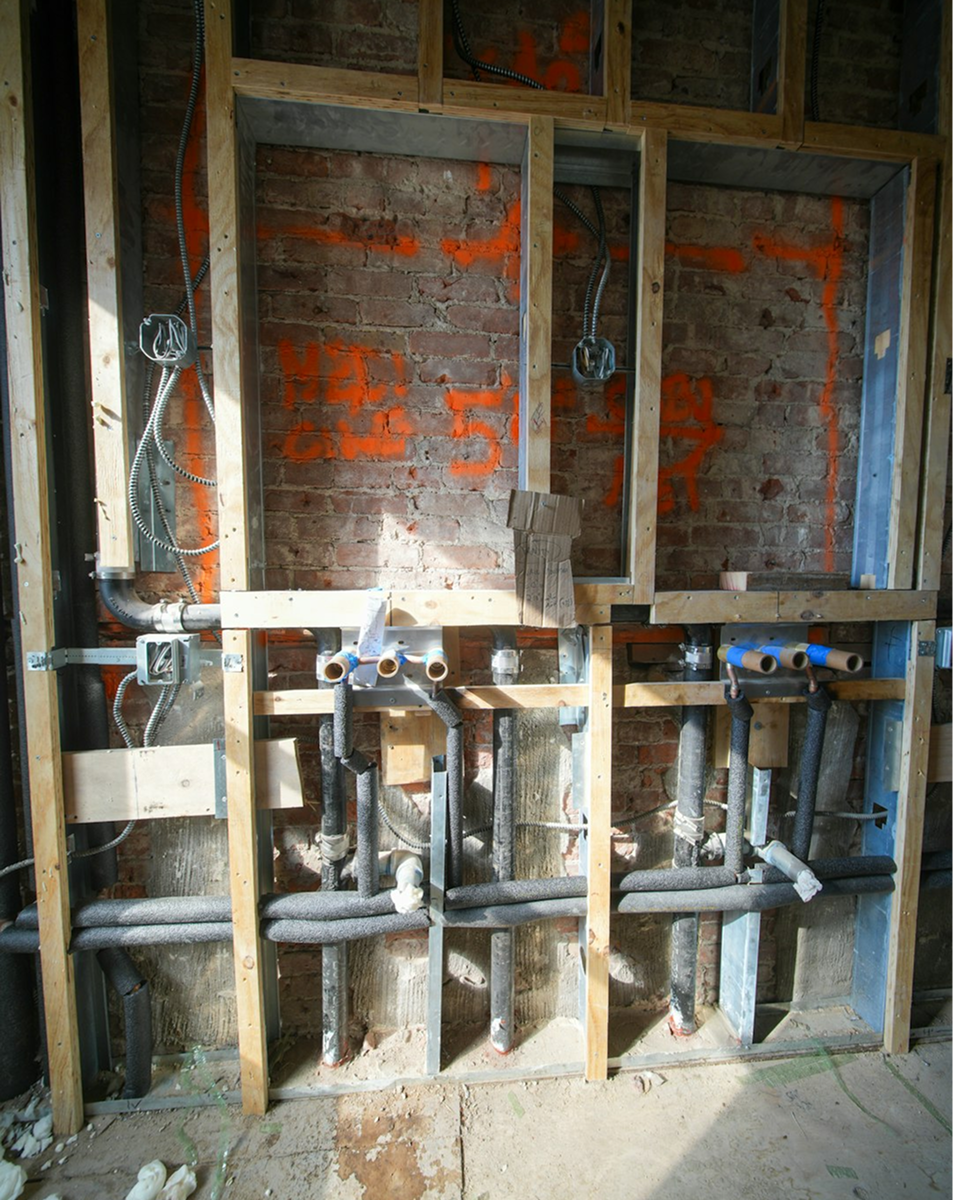
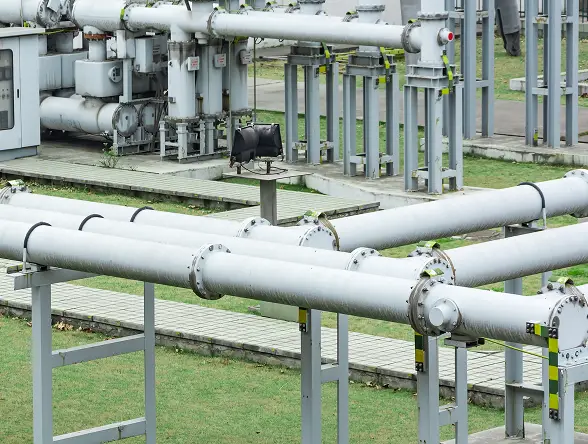
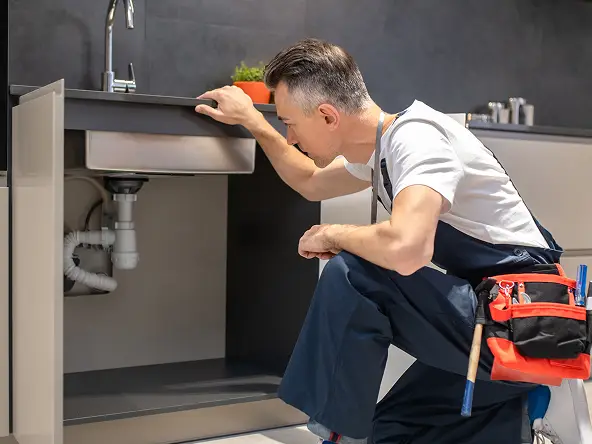
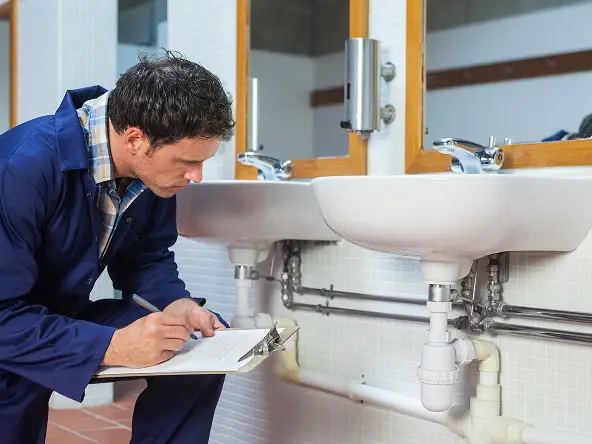
Supply lines are typically installed during the plumbing rough-in stage of construction. Once installed, these pipes are hidden behind finished walls.
After water is used, it flows into the drainage system. Drain pipes carry wastewater away from fixtures and direct it toward the home’s sewer connection or septic system. Drain pipes rely on gravity to move water downward through the system.

For this reason, plumbing fixtures must be carefully positioned to ensure proper drainage.
Vent pipes allow air to enter the plumbing system so that water can drain properly. Without venting, drains could become slow or create suction that interferes with proper flow. Vent pipes typically run vertically through the walls and exit through the roof.

Although homeowners rarely notice them, vent pipes are an essential part of the plumbing system.
Plumbing rough-in is the stage when plumbers install the supply lines and drain pipes before walls and floors are finished.

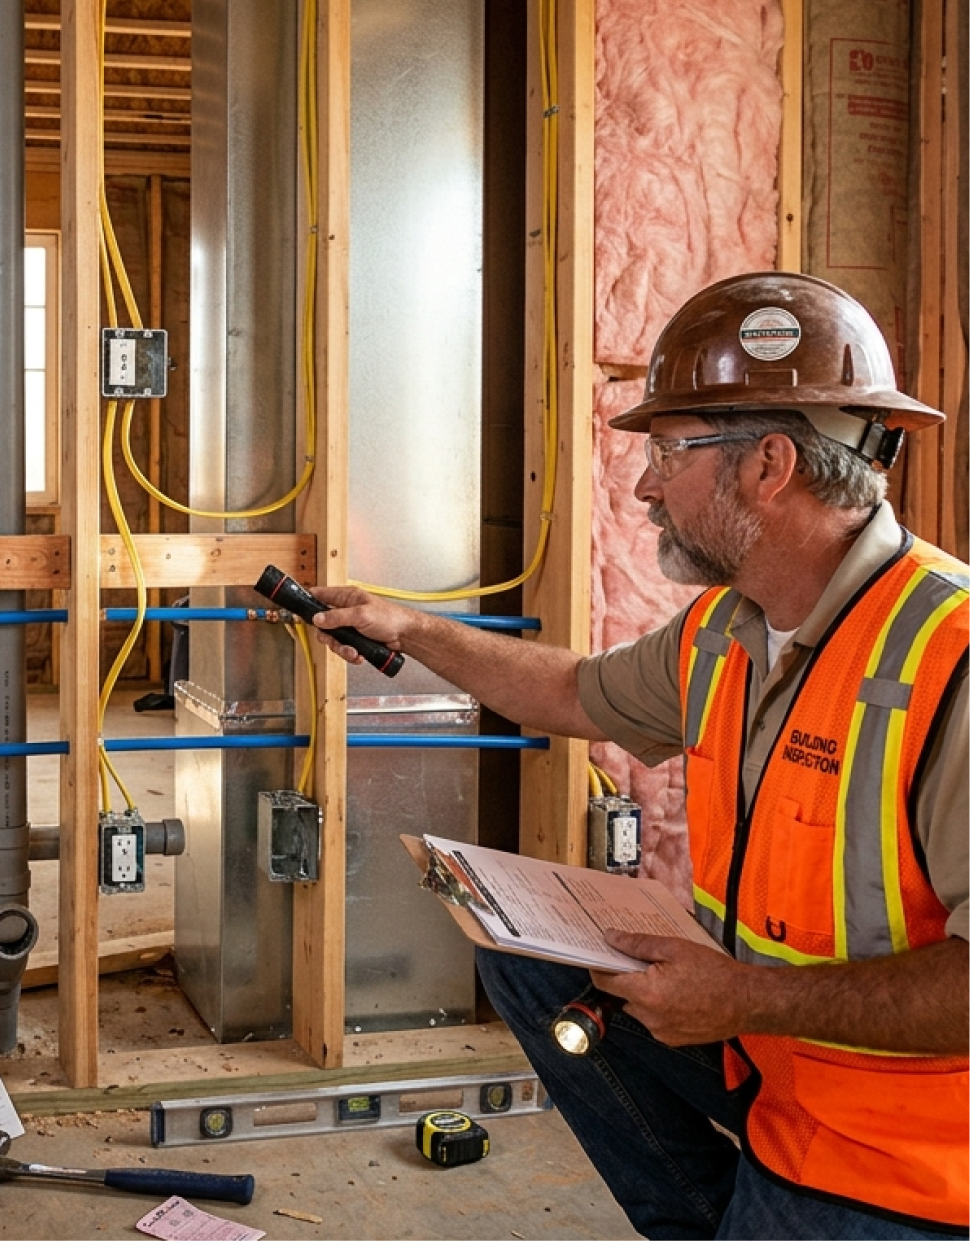
This stage occurs before insulation and drywall are installed. Once rough-in is complete and inspected, the plumbing pipes are covered by finished surfaces.
Many plumbing fixtures require specific connections or configurations. For example:

If fixture selections are made after plumbing rough-in, additional work may be required to modify the plumbing system. For this reason, many plumbing fixtures should be selected before the rough-in stage.
Fixtures by room — each connected to the hidden supply and drain system.
Supply line + drain. Shut-off at floor.
Hot + cold supply. P-trap drain below.
Valve + trim + outlets. All roughed-in before drywall.
Supply + overflow drain. Floor or deck mounted.
Supply line + drain. Shut-off at floor.
Hot + cold supply. P-trap drain below.
Valve + trim + outlets. All roughed-in before drywall.
Supply + overflow drain. Floor or deck mounted.
Supply line + drain. Shut-off at floor.
Hot + cold supply. P-trap drain below.
Valve + trim + outlets. All roughed-in before drywall.
Supply + overflow drain. Floor or deck mounted.
Most fixtures include a local shut-off valve — allowing water to be turned off for repairs without affecting the rest of the home.
One valve for hot, one for cold.
At floor level beside or behind the toilet.
Outlet box with hot and cold shut-offs.
DESIGN COORDINATION
Coordinate fixture finishes with cabinet hardware, lighting, and other design elements for a cohesive, polished look throughout the home.

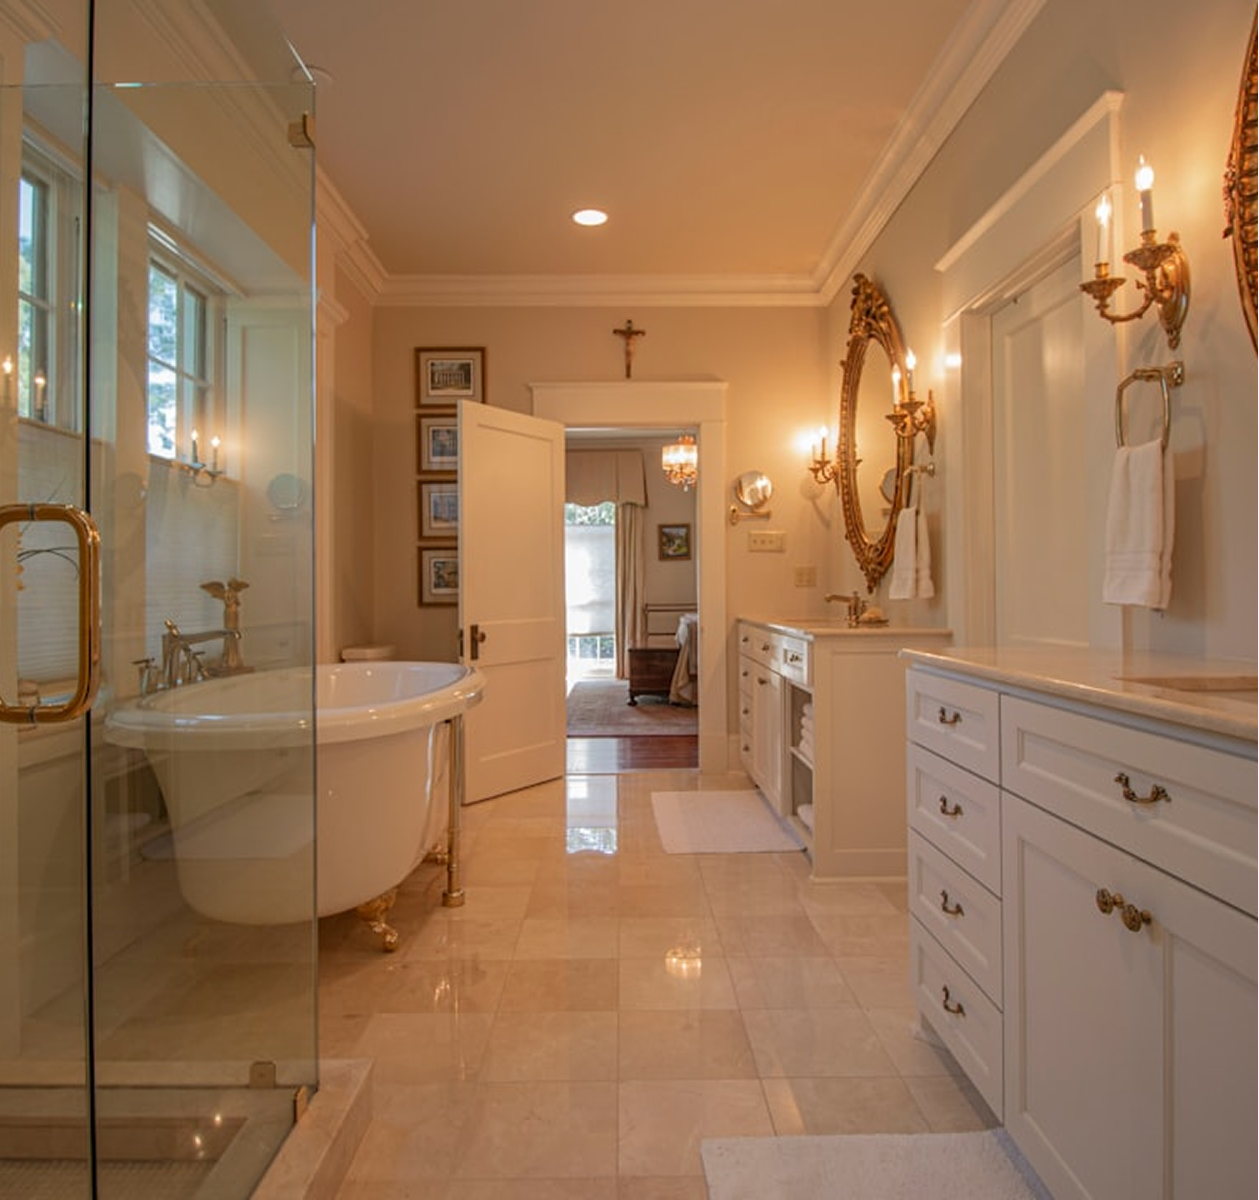
Choose one finish family and carry it consistently — faucets, cabinet pulls, and light fixtures should all coordinate.
Although plumbing pipes are installed during rough construction, the fixtures themselves are usually installed later. This stage is known as plumbing trim-out.
During trim-out, plumbers install the visible fixtures such as:
Connected at sink rough-in stub-outs.
Mounted to trim kit connected to valve.
Floor or deck mount to supply lines.
Set on flange, connected to supply.
THE BIGEER PICTURE
UP NEXT
Description: This page will explain one of the most important construction stages — framing completion, rough plumbing, rough electrical, HVAC installation, and inspections before drywall. This is often the last opportunity for homeowners to see everything inside the walls before they are closed.